Have you ever marveled at the beautiful designs delicately crafted on the surface of your daily cup of coffee? Latte art has become a popular trend, adding a touch of elegance and creativity to your morning routine. In this ultimate guide to making latte art, we will explore the step-by-step process of creating stunning designs, from mastering the perfect milk foam to channeling your inner artist. Whether you’re a coffee connoisseur or simply seeking a new hobby, prepare to impress yourself and your guests with your newfound latte art skills.
Equipment and Tools
To get started on your latte art journey, you’ll need a few essential tools. The first and most important piece of equipment is an espresso machine. This is what will allow you to extract the perfect shot of espresso as a base for your latte art creations. Choose a machine that meets your needs and budget, and make sure it has the capability to produce consistent and high-quality espresso.
Next, you’ll need a milk frother. This will be used to create the creamy and textured milk that is essential for latte art. You can choose between manual frothers that use a hand pump or automatic frothers that do all the work for you. Whichever option you choose, make sure it is capable of producing a rich and velvety foam.
A coffee grinder is also an essential tool for making latte art. It allows you to grind your coffee beans to the desired consistency, ensuring a balanced and flavorful espresso shot. Look for a grinder that offers different grind settings, so you can adjust the coarseness based on your preferences.
A latte art pitcher is a specialized tool designed for pouring milk and creating intricate designs. It has a pointed spout that allows for greater precision and control during the pouring process. Look for a pitcher with a comfortable handle and a well-defined spout for best results.
Lastly, a thermometer is important for achieving the ideal milk temperature when steaming. This ensures that the milk is not too hot or too cold, which can affect the taste and texture of your latte art. Look for a thermometer with a long probe that can be easily inserted into the milk jug.
Choosing the Right Milk
The quality of the milk you use plays a crucial role in the success of your latte art. The two most popular options are whole milk and 2% milk. Whole milk is known for its rich and creamy texture, making it ideal for achieving a velvety smooth microfoam. On the other hand, 2% milk has a slightly lower fat content, resulting in a lighter and less creamy texture. Experiment with both to see which one you prefer.
For those who are lactose intolerant or prefer non-dairy alternatives, there are a variety of options available such as almond milk, soy milk, or oat milk. Each alternative has its own unique flavor profile and texture, so it’s important to choose one that complements the taste of your espresso.
When it comes to steaming the milk, the ideal temperature range is between 140°F and 160°F (60°C and 70°C). This range allows for optimal texture and taste without scalding the milk. Use your thermometer to monitor the temperature during the steaming process and make adjustments as needed.

Pulling the Perfect Espresso Shot
The foundation of any great latte art starts with pulling the perfect espresso shot. Here are the key factors to consider:
Start by selecting the right coffee beans. Look for beans that are freshly roasted and have a medium to dark roast profile. Experiment with different origins and flavor notes to find your preferred taste.
Grind size and consistency also play a crucial role in extracting the perfect shot. Aim for a fine to medium grind size, as this allows for optimal extraction and enhances the flavors of the coffee. Consistency is equally important to ensure even extraction, so invest in a high-quality grinder that allows for precise adjustments.
Dosing and tamping are the next steps in the espresso preparation process. Use a scale to ensure consistency in the amount of coffee grounds used for each shot. Once dosed, tamp the grounds evenly and firmly to create a level surface for water to pass through during extraction.
Extraction time and pressure will determine the taste and intensity of your espresso shot. The ideal extraction time is between 25 to 30 seconds, and the pressure should be around 9 bars. Experiment with different variables to find the sweet spot that suits your taste preferences.
Steaming and Texturing the Milk
Once you have your perfect espresso shot, it’s time to steam and texture the milk to create the foundation for your latte art. Follow these steps for optimal results:
Properly frothing the milk is the first step. Start by purging the steam wand to remove any excess water. Position the steam wand just below the surface of the milk and turn on the steam. As the milk starts to expand and increase in volume, slowly lower the pitcher to maintain a consistent swirling motion.
When it comes to texture, the goal is to achieve a smooth and velvety microfoam. This is what will allow you to create intricate designs and patterns. The milk should have a glossy appearance and be free from large bubbles or visible separation. Practice steaming the milk to achieve the desired texture.
Achieving the right temperature is crucial for both taste and latte art. As mentioned earlier, the ideal temperature range for steaming is between 140°F and 160°F (60°C and 70°C). Use your thermometer to monitor the milk during the steaming process and stop once the desired temperature is reached.

Fundamental Latte Art Designs
Mastering the fundamental latte art designs is a great starting point for any aspiring latte artist. Here are a few classics to begin with:
The heart design is a simple yet elegant pattern that is perfect for beginners. Start by pouring a stream of milk into the center of the espresso, then quickly drag the pitcher towards you while wiggling it side to side. This will create the top part of the heart. To complete the design, gently pour a small dot in the center of the heart.
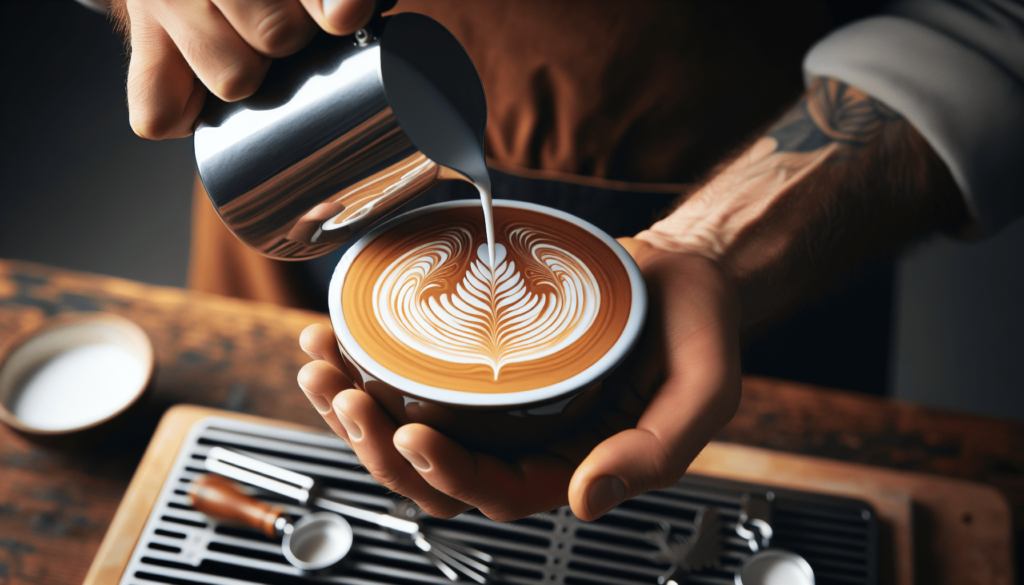
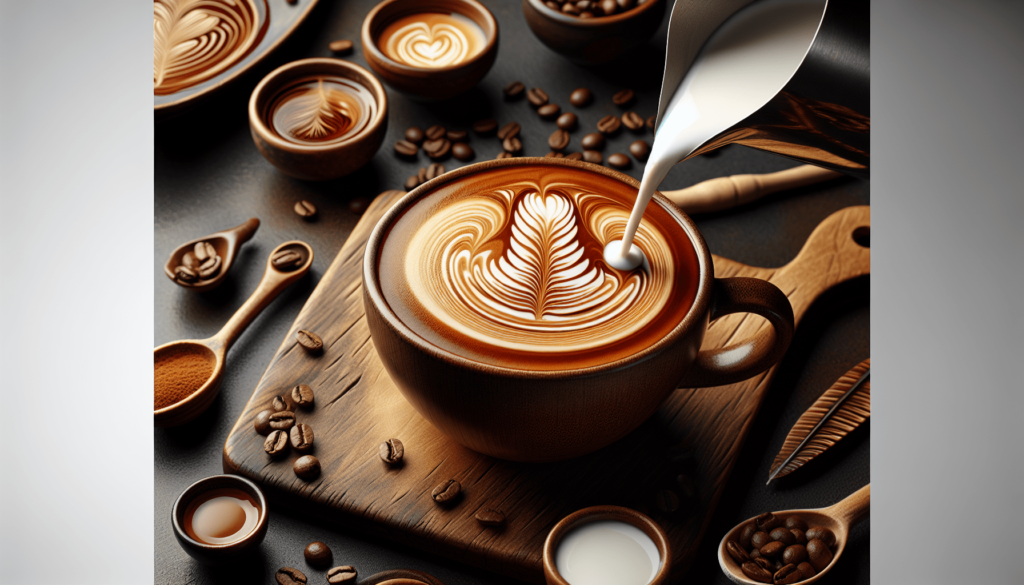
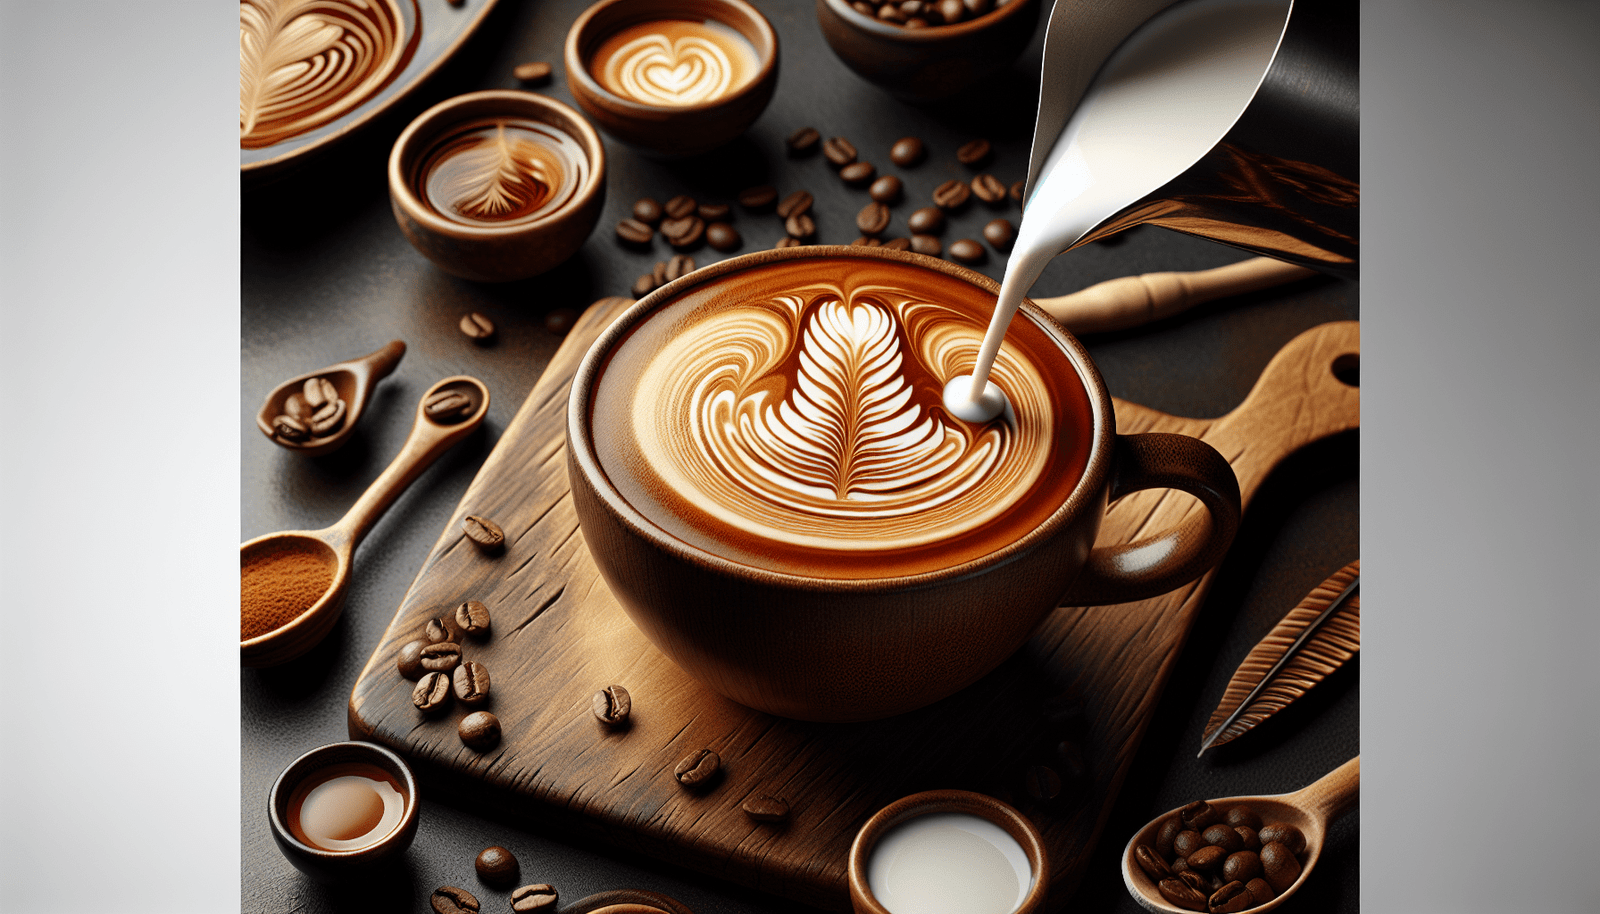
The rosetta design is a more advanced pattern that requires proper milk texture and pouring technique. Begin by pouring a thin stream of milk into the center of the espresso, then move the pitcher side to side while gradually moving it towards you. As the milk starts to disperse, gently pull the pitcher back to create the leaf-like patterns. Practice is key to mastering the rosetta.
The tulip design is another popular option that involves layering multiple rosettas on top of each other. Start by pouring a small rosetta in the center, then pour another rosetta alongside it, overlapping slightly. Repeat this process, alternating sides, until you have multiple rosettas stacked together, resembling a tulip shape. Finishing with a gentle shake of the pitcher can help define the design.
The swan design is a more intricate pattern that requires a higher level of skill and control. It involves pouring layered rosettas to create the body and wings of the swan. Start by pouring a large rosetta in the center of the cup, then pour two smaller rosettas alongside it to form the wings. With practice and patience, you can create a beautiful swan design.
Pouring Techniques
Different pouring techniques can create unique effects and designs in your latte art. Here are a few techniques to experiment with:
The free pour technique involves pouring milk directly into the espresso cup, allowing the patterns to naturally form. This technique requires good control and precision to achieve the desired design. Practice pouring different patterns and swirls to create diverse latte art designs.
Etching is a technique that involves using a small tool, such as a toothpick or latte art pen, to create intricate details and designs on the surface of the latte. After pouring your basic design, you can use the etching tool to draw lines, shapes, or even letters on the milk foam, adding a personalized touch to your latte art.
Layering is another technique that can add depth and complexity to your latte art. It involves pouring milk at different speeds and heights to create distinct layers of color. This technique works well with designs that have contrasting colors or multiple layers, such as landscapes or geometric patterns.
Pouring for specific designs requires a combination of technique and creativity. Depending on the design you want to create, you may need to pour the milk in a specific pattern or shape. Experiment with different pouring techniques and angles to achieve the desired result. Remember, practice makes perfect!
Creating Contrast and Depth
To take your latte art to the next level, it’s important to consider contrast and depth in your designs. Here are a few techniques to achieve this:
Contrasting colors can make your latte art designs pop. Experiment with using different types of milk, such as whole milk and chocolate milk, to create contrasting colors. You can also use food coloring or natural ingredients, like matcha powder or turmeric, to add vibrant colors to your latte art.
Layering techniques involve pouring milk at different heights to create layered effects. Pouring from a higher distance can create a larger surface area for the milk to spread, resulting in a lighter layer. Pouring from a lower distance creates a thinner layer and allows for more control over the design. Experiment with different pouring heights to achieve the desired effect.
Pouring at different heights can also create depth in your latte art designs. By pouring one layer of milk closer to the surface of the espresso and another layer from a higher distance, you can create a three-dimensional effect. This technique works well for designs that involve objects or landscapes.
Advanced Latte Art Designs
Once you’ve mastered the fundamental latte art designs, you can challenge yourself with more advanced patterns and shapes. Here are a few examples:
Creating multiple rosettas involves layering several rosettas on top of each other to create a more intricate design. Pour a small rosetta in the center and then pour additional rosettas alongside it, moving gradually towards the edges. Repeat this process until you have multiple rosettas stacked together, creating a mesmerizing pattern.
The dolphin design is a popular advanced design that requires skill and precision. Start by pouring a large rosetta shape in the center of the cup. Then, using a toothpick or etching tool, create the shape of a dolphin by drawing a curved line from the rosetta’s top to the base and adding a fin on the side. This design requires practice and a steady hand.
Floral designs are intricate and visually stunning. Begin by pouring a large rosetta in the center of the cup, then use a toothpick or etching tool to create petals around the rosetta. Experiment with different petal shapes and sizes to create unique floral designs. This design requires patience and attention to detail.
Geometric patterns can be achieved by combining various pouring techniques and etching. Start by pouring different layers and colors to create a base. Once the layers are set, use an etching tool to draw geometric shapes, lines, or patterns on the surface. This design allows for endless creativity and experimentation.
Troubleshooting Common Issues
As with any art form, latte art can sometimes present challenges. Here are some common issues you may encounter, along with ways to troubleshoot them:
If your milk is not foaming correctly, there may be several factors at play. Make sure your milk is fresh and cold, as warm or stale milk can affect the frothing process. Check the steam wand for any blockages or build-up that may be preventing proper steam flow. Additionally, ensure that you are using the correct technique and positioning the steam wand properly.
Inconsistent espresso shots can be caused by various factors, such as inconsistent grind size, irregular tamping pressure, or improper extraction time. Ensure that your coffee grinder is calibrated and produces a consistent grind size. Use a scale to measure the correct amount of coffee grounds and tamp them evenly. Experiment with different extraction times and monitor the pressure to achieve consistency.
If your designs are not appearing clearly on the surface of the latte, it could be due to improper milk texture or pouring technique. Ensure that your milk is properly textured with a smooth and velvety microfoam. Practice different pouring techniques to achieve a steady and controlled pour. Remember to pour at a consistent speed and angle for best results.
Practice and Experimentation
As with any skill, practice is key to mastering latte art. Don’t be discouraged if your first attempts don’t turn out as planned. Keep practicing and experimenting with different techniques, designs, and pouring methods. Each cup is an opportunity to learn and improve. Take the time to observe and appreciate your progress along the way.
Finding your own style is an important aspect of latte art. While it’s great to draw inspiration from others and learn from established designs, don’t be afraid to develop your own unique style and signature patterns. Experiment with different pouring techniques, color combinations, and shapes to create latte art that reflects your personality and creativity.
Exploring different techniques and ideas is essential to keep improving and expanding your latte art skills. Attend workshops or classes, watch tutorials, read books or articles, and connect with other latte artists to gain new insights and inspiration. Embrace the journey of continuous learning and growth in the world of latte art.
Remember, the art of latte art is a blend of skill, creativity, and passion. Enjoy the process, treat yourself to a beautifully crafted latte, and share your creations with others. Latte art is a delightful way to express yourself and bring joy to those around you. So pick up your tools, get your espresso machine ready, and embark on a latte art adventure that is uniquely yours. Cheers to creating beautiful masterpieces, one latte at a time!

