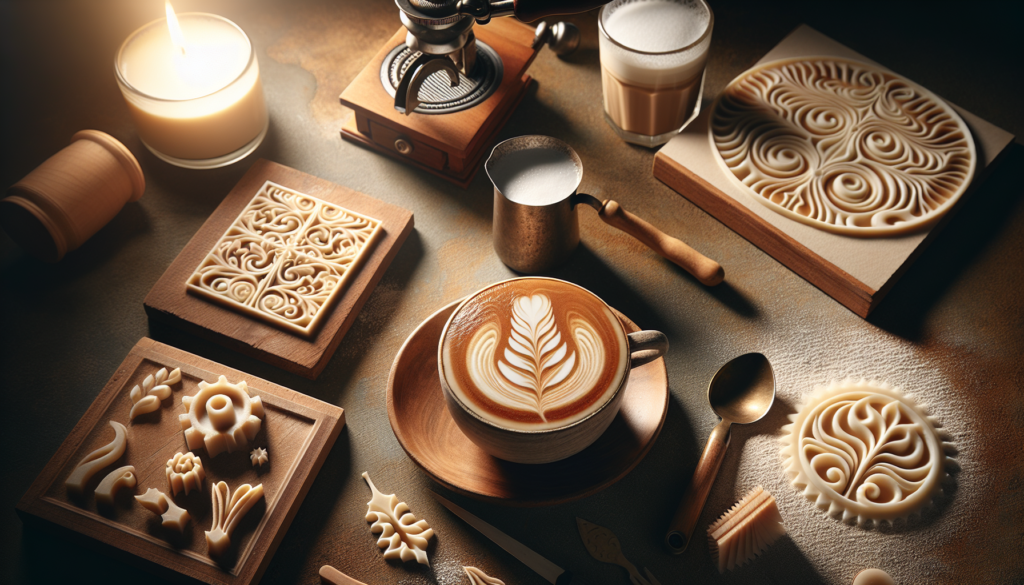
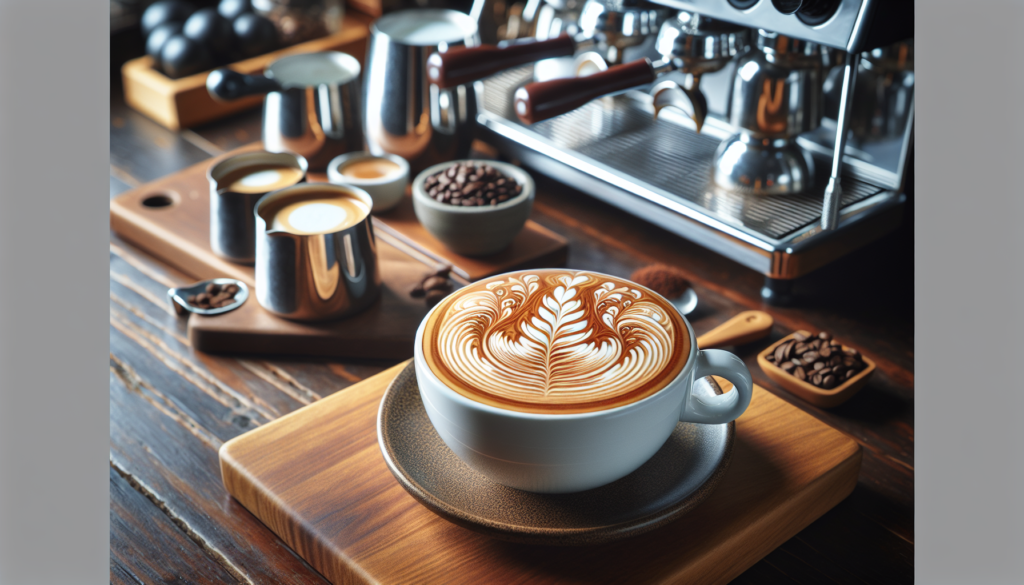
Are you a coffee enthusiast looking to take your home barista skills to the next level? Look no further than the “Beginner’s Guide To Latte Art.” In this guide, you will discover the basics of creating stunning latte art, from simple hearts and tulips to more intricate designs like rosettas and swans. With step-by-step instructions and helpful tips, you’ll soon be impressing your friends and family with professional-looking lattes that taste as good as they look. Say goodbye to ordinary morning coffees and embrace the artistry of latte making!

1. Understanding Latte Art
1.1 What is Latte Art?
Latte art is the creative and intricate designs made by pouring steamed milk into a shot of espresso, resulting in visually appealing patterns on the surface of the latte. These patterns can range from simple hearts and tulips to more complex designs like swans and trees. Latte art requires skill and precision to achieve perfect symmetry and contrast, making it a popular form of artistic expression in the world of coffee.
1.2 Importance of Latte Art
Latte art not only adds an aesthetic element to your morning coffee but also reflects the barista’s skill and attention to detail. It enhances the overall coffee-drinking experience by creating a visually pleasing and personalized touch. Latte art has become a symbol of quality and craftsmanship in the coffee industry, with well-executed designs often indicating a skilled barista and a meticulously prepared latte.
1.3 History of Latte Art
The origins of latte art can be traced back to Italy, where the espresso culture has thrived for centuries. It was in the 1980s that latte art gained mainstream recognition when coffee aficionados in Seattle, USA, began experimenting with pouring steamed milk into espresso. This led to the development of various pouring techniques and the birth of latte art as we know it today. Since then, latte art has become a global phenomenon, with baristas from all over the world showcasing their talents and pushing creative boundaries.
2. Tools and Ingredients
2.1 Espresso Machine
The foundation of creating latte art lies in a reliable espresso machine. It is essential to invest in a high-quality espresso machine that can consistently produce shots of espresso with the perfect balance of flavor and strength. An espresso machine with temperature stability and the ability to control extraction parameters is crucial for creating a strong base for latte art.
2.2 Milk Pitchers
Milk pitchers, also known as milk frothing jugs, are essential tools for steaming and frothing milk for latte art. Opt for pitchers with a pointed spout, as it allows for more precise pouring and better control over the milk flow. Stainless steel pitchers are preferred due to their durability and ease of cleaning.
2.3 Espresso Grinder
To achieve the perfect espresso shot as the base for your latte art, it is essential to invest in a high-quality espresso grinder. A grinder with consistent, adjustable grind settings ensures that the coffee grounds are uniform, allowing for optimal extraction and flavor in the espresso.
2.4 Thermometer
Maintaining the ideal milk temperature is crucial for creating creamy, velvety microfoam necessary for latte art. A reliable thermometer helps you achieve the recommended milk temperature range of 150-155°F (65-68°C). This range ensures a perfect balance between texture and taste, allowing the milk to combine harmoniously with the espresso.
2.5 Freshly Roasted Coffee Beans
Using freshly roasted coffee beans is paramount in creating a flavorful espresso for latte art. Opt for specialty coffee beans that have been recently roasted to ensure optimal freshness and flavor. Avoid pre-ground coffee, as it can result in a less flavorful espresso shot and hinder the overall quality of your latte art.
3. Types of Latte Art
3.1 Heart
The heart is one of the most basic and popular designs in latte art. To create a heart, start by pouring a stream of milk just slightly off-center into the espresso. As the cup fills, gently rock the pitcher side to side to create the desired shape. Finish by pouring a straight line through the center of the heart to define the cleavage.
3.2 Tulip
The tulip is a more intricate design that showcases the barista’s pouring technique. Begin by pouring a solid heart shape, then make circular motions around the heart to add petals. As you continue pouring, gradually increase the height and speed of the pour to create the desired tulip shape.
3.3 Rosetta
The rosetta is a classic design resembling a fern or leaf. Start by pouring a solid heart shape, similar to creating a heart design. From the center of the heart, drag the milk stream back and forth, creating curved lines on the surface, resembling the leaves of a plant.
3.4 Swan
The swan design requires precise control and finesse. Pour a large, solid heart, ensuring it is centered in the cup. Next, gently move the pitcher across the cup while pouring milk to create the swan’s body. Finally, use a toothpick or a thin utensil to etch the swan’s head and neck.
3.5 Tree
The tree design adds a touch of whimsy to your latte. Start by pouring a vertical line through the center of the cup, resembling the trunk of the tree. Then, create branches by pouring short, diagonal lines from the central line. Continue pouring until the desired tree shape is achieved.
3.6 Snowflake
The snowflake design is a delicate and intricate pattern. Begin by pouring a small dot in the center of the cup. From the dot, create thin lines in a star-shaped pattern. Connect the lines with smaller diagonal lines to create a snowflake-like appearance.
3.7 Multi-Layered
The multi-layered design is achieved by pouring layers of different colored milk or adding flavored syrups to create contrasting patterns. Start by pouring a base layer, such as chocolate milk or a flavored syrup. Allow it to settle, then pour another layer, such as regular steamed milk, on top of the first layer. The contrast between the layers creates visually appealing designs.
3.8 Etching Techniques
Etching techniques involve using a thin utensil, such as a toothpick or a latte art pen, to create intricate designs on the surface of the latte. By dragging the utensil through the layers of milk foam, you can create detailed images, words, or patterns. Etching allows for limitless creativity and customization in latte art.
4. Preparing the Perfect Milk
4.1 Milk Selection
The type of milk you choose plays a significant role in achieving the desired texture and flavor in your latte art. Whole milk is often preferred for its richness and creamy texture, making it easier to achieve the velvety microfoam necessary for latte art. However, alternative milk options, such as almond milk or oat milk, can also be used, but they may require different steaming techniques due to variations in protein content.
4.2 Milk Temperature
Maintaining the ideal milk temperature is crucial in achieving the perfect latte art. The recommended milk temperature range is 150-155°F (65-68°C), as it allows for optimum texture and taste. A reliable thermometer is essential in accurately measuring the milk’s temperature during the steaming process.
4.3 Steaming and Frothing
To achieve the desired texture and consistency for latte art, it is crucial to properly steam and froth the milk. Begin by ensuring the steam wand is properly positioned just below the milk’s surface. Gently introduce steam into the milk, initially creating a swirling motion with the steam wand. As the milk expands and incorporates air, gradually lower the pitcher to achieve the desired amount of microfoam.

5. Pouring Techniques
5.1 Free Pouring
Free pouring is the most common pouring technique used in creating latte art. It involves pouring the steamed milk directly into the espresso in a controlled, steady stream. By adjusting the height, angle, and speed of the pour, intricate designs can be achieved. The key to successful free pouring is practice, as it requires muscle memory and precision control.
5.2 Pouring Patterns
Pouring patterns are a great way to experiment with different latte art designs. These patterns involve manipulating the milk stream in specific motions to create shapes or images. Examples of pouring patterns include the circular spiral, the zig-zag, and the back-and-forth motion. By mastering these patterns, you can create unique and visually appealing designs in your latte art.
6. Practicing the Basics
6.1 Practicing on Flat Surface
When starting out with latte art, it is helpful to practice on a flat surface, such as a countertop or a clean table. This allows for a stable workspace and enables you to focus solely on perfecting your pouring techniques and achieving consistent patterns. Once you feel comfortable with the basics, you can move on to pouring directly into cups to create latte art masterpieces.
6.2 Foam Control Techniques
Control over the amount and consistency of the milk foam is crucial for creating latte art. Practice achieving different levels of foam by adjusting the steam wand’s position in the milk pitcher and controlling the duration and intensity of the steaming process. By honing your foam control techniques, you can ensure the perfect canvas for your latte art creations.
7. Troubleshooting Common Issues
7.1 Milk too Thin or Too Thick
If the milk is too thin, it may not incorporate enough air during the steaming process, resulting in flat and underwhelming latte art. To rectify this, ensure the steam wand is positioned properly in the milk and adjust the steaming technique to introduce more air. If the milk is too thick, it may be over-aerated, leading to large bubbles and difficulties in pouring intricate designs. To remedy this, practice steam wand positioning and find the sweet spot for creating the ideal microfoam.
7.2 Poor Definition and Contrast
If your latte art lacks definition and contrast, it may be due to improper pouring techniques or milk temperatures. Ensure you are pouring the milk evenly and consistently, using smooth and controlled motions. Additionally, pay attention to the milk temperature, as variations outside the recommended range can affect the texture and contrast of your latte art.
7.3 Sinking or Floating Designs
If your latte art designs are sinking or floating to the bottom of the cup, it may be due to improper milk texture or pouring technique. Ensure the milk has the correct consistency and that you are pouring gently and at the right angle. Adjusting the milk texture and pouring technique can help prevent sinking or floating designs and create latte art that stays intact on the surface.
8. Creating Latte Art at Home
8.1 Choosing the Right Equipment
Creating latte art at home requires the right equipment. Invest in a quality espresso machine, a milk frothing pitcher with a pointed spout, an espresso grinder, a reliable thermometer, and freshly roasted coffee beans. Having these tools on hand will ensure that you have everything you need to create latte art in the comfort of your own home.
8.2 Setting Up Your Workspace
Create a dedicated workspace for your latte art endeavors. Ensure you have a clean and flat surface to practice and pour your latte art, and keep all your equipment organized and easily accessible. Having a well-organized and dedicated workspace will help set the stage for your latte art creations.
8.3 Perfecting Your Technique
Creating latte art is a skill that requires practice and patience. Set aside dedicated time to practice your pouring techniques and experiment with different designs. Take advantage of online resources and tutorials to learn from experienced baristas and gain inspiration for your artwork. With consistent practice and a focus on improving your technique, you can become a latte art master in your own kitchen.
9. Going Beyond the Basics
9.1 Experimenting with Colors
Once you have mastered the art of pouring and creating basic designs, you can take your latte art to the next level by experimenting with colors. This can be achieved by using natural food coloring, flavored syrups, or edible powders to add vibrant shades to your latte art. By playing with colors, you can create visually stunning and eye-catching designs that will impress and delight.
9.2 Utilizing Stencils and Templates
For those who want to add intricate details or specific designs to their latte art, stencils and templates can be a useful tool. These guides allow you to create consistent and precise shapes or images on the surface of your latte. Simply place the stencil or template on top of your latte and sprinkle cocoa powder or cinnamon to reveal the desired pattern. This technique opens up a whole world of possibilities for customization and personalization in your latte art.
9.3 Advanced Pouring Techniques
Once you have mastered the basics of free pouring, you can challenge yourself with more advanced pouring techniques. These techniques involve manipulating the milk stream in different ways to create complex and intricate designs. Some examples of advanced pouring techniques include the swan pour, the peacock pour, and the layered pour. These techniques require practice, patience, and a keen eye for detail, but the results can be truly remarkable.
10. Showcasing Your Latte Art
10.1 Photographing Your Creations
Once you have created your latte art masterpiece, it’s time to capture it in all its glory. Photography plays a crucial role in showcasing your talent and artistry. Experiment with different angles, lighting, and backgrounds to capture the intricate details and colors of your latte art. Share your stunning photographs with friends, family, or on social media platforms to inspire and amaze.
10.2 Sharing on Social Media
Sharing your latte art on social media platforms is a fantastic way to connect with a wider audience and gain recognition for your skills. Join latte art communities and use relevant hashtags to attract fellow coffee enthusiasts. Engage with others, exchange tips and techniques, and be open to feedback. Social media provides a platform to share your passion and creative creations with the world.
10.3 Entering Latte Art Competitions
For those seeking to take their latte art to the professional level, entering latte art competitions can be an exciting opportunity. Competitions allow you to showcase your skills, gain valuable feedback from experienced judges, and connect with a community of passionate baristas. Participating in competitions can be a great way to challenge yourself, push your creative boundaries, and elevate your latte art to new heights.
In conclusion, understanding the art of latte art requires a combination of knowledge, practice, and creativity. By familiarizing yourself with the tools, ingredients, and techniques involved, you can embark on a journey of creating beautiful and personalized latte art. Whether you’re a coffee lover looking to enhance your morning ritual or a barista aspiring to showcase your skills, latte art offers endless possibilities for self-expression and enjoyment. So grab your milk pitcher, perfect your pouring techniques, and let your creativity flow onto the surface of every latte you create. Cheers!

