Maintaining a clean and well-functioning espresso grinder is vital to achieving the perfect grind for your beans. In this article, you will discover simple yet effective techniques to keep your grinder pristine and ensure optimal results every time you grind. By following these easy steps, you will elevate your coffee experience and savor the rich flavors that freshly ground beans have to offer. So, grab your cleaning supplies and let’s get started on a journey to maintain the perfect grind!
Cleaning the Grinder
Remove the hopper and grind chamber
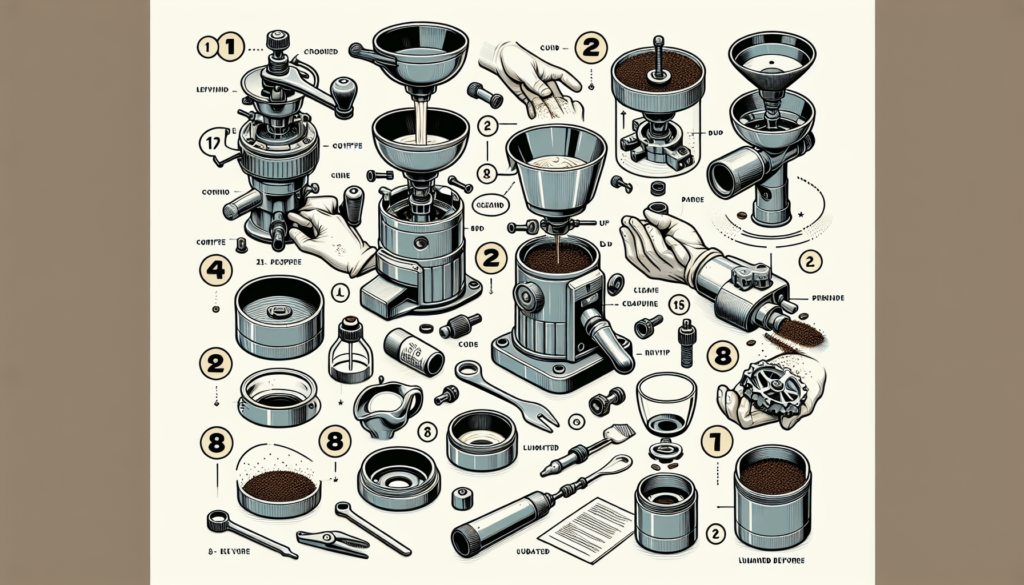
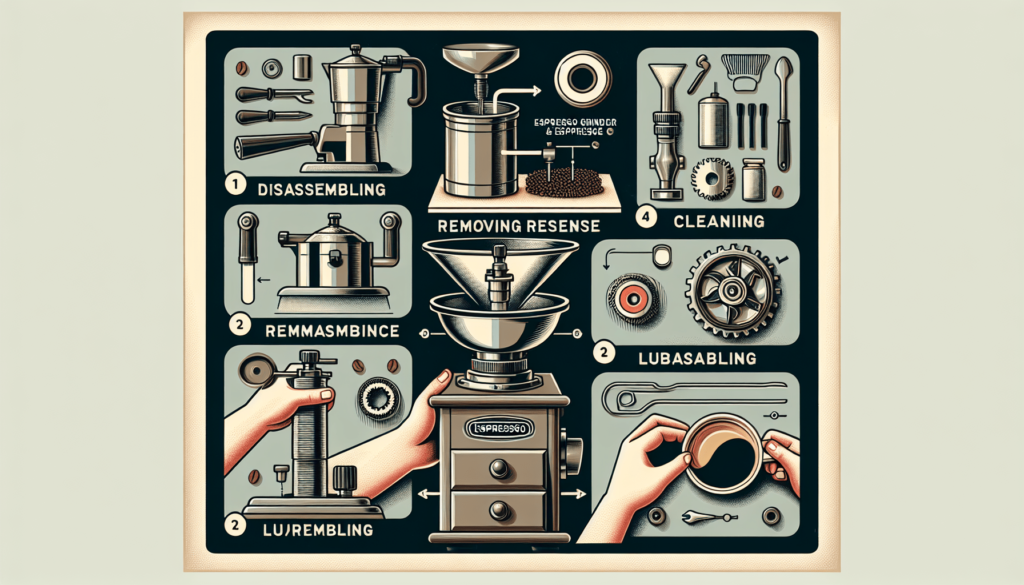
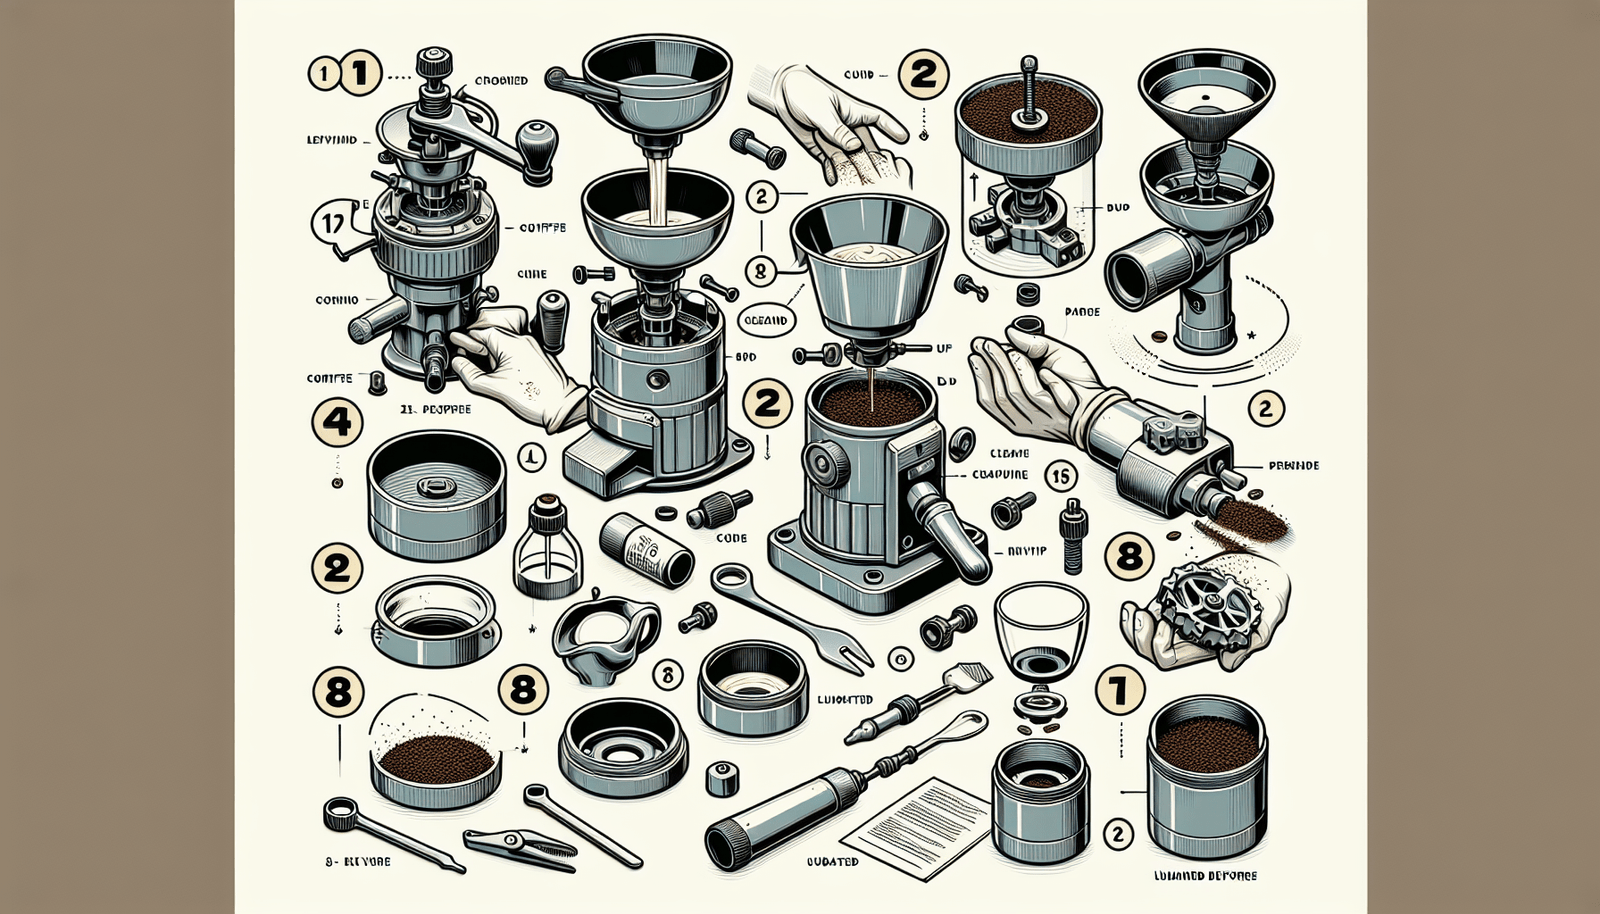
When it comes to cleaning your espresso grinder, the first step is to remove the hopper and grind chamber. This allows you to have better access to the various parts that need cleaning. Gently twist and remove the hopper from the grinder, taking care not to spill any remaining beans. Then, detach the grind chamber from the grinder, ensuring that it is fully separated.
Brush away the excess grinds
Once you have removed the hopper and grind chamber, it’s time to brush away the excess grinds. Use a grinder brush to gently sweep away any remaining coffee grounds from the burrs and other hard-to-reach areas. This will prevent the build-up of old grounds and ensure that your grinder functions optimally.
Use a damp cloth to wipe down the exterior
After brushing away the excess grinds, it’s important to give the exterior of your grinder a wipe down. Take a damp cloth and gently clean the surface of the grinder, removing any dust or residue that may have accumulated. This step helps to keep your grinder looking clean and well-maintained.
Clean the burrs with a brush or grinder cleaner
To ensure that your espresso grinder produces consistently great coffee, it’s crucial to clean the burrs regularly. Use a brush specifically designed for cleaning grinders to remove any stuck-on grinds or residue from the burrs. Alternatively, you can use a grinder cleaner that is specifically formulated to dissolve oils and coffee residue. This will help to maintain the performance and longevity of your grinder.
Removing Residue
Use a grinder brush to remove stuck-on grinds
When cleaning your espresso grinder, it’s common to encounter stuck-on grinds that are difficult to remove. In such cases, a grinder brush with stiff bristles can be incredibly helpful. Gently scrub the burrs and grind chamber with the brush, making sure to dislodge any stubborn residues. This will ensure that your grinder is free from any leftover grounds that may alter the taste of your coffee.
Soak the burrs in a cleaning solution
For a more thorough cleaning, you can soak the burrs in a cleaning solution. Choose a solution specifically designed for espresso grinders, as regular dish soap can leave behind a soapy residue that affects the taste of your coffee. Fill a small container with the cleaning solution and submerge the burrs. Let them soak for the recommended amount of time, usually around 15 minutes, and then proceed to the next step.
Scrub away residue with a toothbrush
After soaking the burrs, use a soft toothbrush to gently scrub away any residue that remains. The bristles of a toothbrush are gentle enough to avoid damaging the burrs while still effectively removing built-up grime. Pay special attention to the nooks and crannies, ensuring that all surfaces are thoroughly cleaned.
Rinse the burrs thoroughly and dry them before reassembling
Once you have finished scrubbing away the residue, it’s essential to rinse the burrs thoroughly. Use warm water to remove any remaining cleaning solution or loose debris. After rinsing, make sure to dry the burrs completely before reassembling the grinder. Moisture left on the burrs can lead to corrosion and affect the overall performance of your grinder. So take the time to ensure they are completely dry before moving forward.

Maintaining the Burrs
Check for burr alignment
To maintain the optimal performance of your espresso grinder, it is crucial to periodically check for burr alignment. Misaligned burrs can result in an inconsistent grind size and affect the overall taste of your coffee. Refer to your grinder’s user manual to understand how to properly assess the alignment of the burrs.
Adjust the burrs if necessary
If you discover that your burrs are misaligned, it’s important to take the necessary steps to make the appropriate adjustments. Depending on the design of your grinder, you may need specific tools or instructions on how to align the burrs. Follow the manufacturer’s guidelines to ensure proper alignment and optimal grinding performance.
Give the burrs a deep clean every few months
Deep cleaning your burrs every few months is essential for maintaining the quality of your espresso grounds. Refer to the manufacturer’s recommendations for the frequency of deep cleaning based on your grinder model. A deep clean involves using a grinder cleaner or a cleaning solution specifically designed for burrs. Follow the instructions carefully to ensure a thorough clean and remove any built-up oils or residue that may affect the taste of your coffee.
Replace dull or damaged burrs
With regular use, burrs will inevitably wear out over time. If you notice a decline in the quality of your grind, or if you observe any signs of damage or significant wear on the burrs, it is recommended to replace them. Refer to your grinder’s user manual or contact the manufacturer for instructions on how to source and install new burrs. A well-maintained set of burrs is crucial for consistently producing high-quality espresso grounds.
Cleaning the Hopper and Grind Chamber
Empty the hopper of any leftover beans
Before cleaning the hopper and grind chamber, make sure to remove any leftover beans. Dispose of them properly, and if desired, store them in an airtight container for future use. This step ensures that the cleaning process is effective and prevents any interference from leftover grounds.
Wash the hopper with warm, soapy water
To clean the hopper, remove it from the grinder and wash it thoroughly with warm, soapy water. Use a sponge or cloth to scrub the inside and outside of the hopper, ensuring that all coffee residue is removed. Rinse it well to remove any soap residue and let it air dry before reattaching it to the grinder.
Scrub the grind chamber with a brush and cleaning solution
The grind chamber is where the coffee grounds accumulate during the grinding process. To clean it, use a brush specifically designed for this purpose. Dip the brush in a cleaning solution or use a mixture of warm water and dish soap, and scrub the grind chamber thoroughly. Pay close attention to removing any build-up or residue, as these can affect the flavor of your coffee.
Rinse and dry the hopper and grind chamber before reattaching
After cleaning both the hopper and grind chamber, it’s crucial to rinse them thoroughly to remove any cleaning solution or soap residue. Rinse with warm water several times, ensuring that all surfaces are clean. Allow them to air dry completely before reattaching them to the grinder. This will help prevent any moisture or residue from compromising the quality of your coffee in the future.

Keeping the Grinder Cool
Avoid grinding for long periods without breaks
To keep your grinder cool and prevent overheating, it’s important to avoid grinding for extended periods without breaks. Continuous grinding generates heat, which can affect the flavors and quality of your coffee. Take short breaks between grinding sessions to allow the grinder to cool down and maintain optimal performance.
Use a fan to circulate air around the grinder
If you find that your grinder tends to overheat easily, consider using a fan to circulate air around the device. Position the fan in a way that directs airflow towards the grinder. This airflow helps dissipate heat and keeps the grinder at a cooler temperature, ensuring consistent performance and preventing overheating.
Store the grinder in a well-ventilated area
Proper storage plays a significant role in maintaining the temperature of your grinder. When not in use, store it in a well-ventilated area away from direct sunlight or sources of heat. Good airflow helps regulate the temperature and prevents the build-up of heat that can affect the consistency of your grind.
Clean any built-up dust on the motor to prevent overheating
Over time, dust can accumulate on the motor of the grinder, leading to reduced airflow and potential overheating. Regularly inspect and clean the motor compartment using a soft brush or cloth. This will help remove any dust or debris that may compromise the performance and lifespan of your grinder.
Calibrating the Grinder
Check the grind settings for consistency
To ensure consistent grind size, periodically check the grind settings on your espresso grinder. Different factors, such as wear and tear or accidental adjustments, can affect the calibration of the grinder. By visually inspecting the settings and comparing them to your desired grind size, you can identify whether any adjustments are necessary.
Adjust as needed using the grinder’s calibration knob
If you find that the grind settings need adjustment, most espresso grinders have a calibration knob or dial that allows you to make fine-tuned changes. Refer to your grinder’s user manual or contact the manufacturer for specific instructions on how to adjust the calibration.
Experiment with different settings to find the optimal grind size
Every coffee enthusiast has their preference when it comes to coffee strength, extraction time, and flavor. Take the opportunity to experiment with different grind settings to find your optimal grind size. Keep in mind that certain factors, such as brewing method, bean freshness, and roast level, can influence the ideal grind size for your espresso. Embrace the journey of discovering your perfect cup of coffee.
Regularly test and fine-tune the grind calibration
Coffee beans can vary in density and moisture content, even within the same bag or batch. Therefore, it’s important to regularly test and fine-tune the grind calibration to achieve consistent results. Make small adjustments as necessary, always keeping in mind the desired outcome of your coffee extraction.
Preventing Clogs
Use high-quality, oily beans to reduce clogging
Choosing the right beans plays a crucial role in preventing clogs in your espresso grinder. Opt for high-quality beans that are known for their oiliness. These types of beans tend to be less prone to clogging due to their natural lubrication. So, when purchasing beans, consider their origin, freshness, and roast level to ensure a smooth grind.
Avoid grinding oily or flavored beans in the grinder
While some beans are naturally oily and suitable for espresso grinding, it’s essential to avoid grinding overly oily or flavored beans in your grinder. Excess oils from these beans can accumulate and create blockages, leading to inconsistent grinds and potential damage to your grinder. Reserve flavored or extremely oily beans for alternative brewing methods that are less likely to clog.
Clean the chute and burrs regularly to prevent build-up
To prevent clogs, it’s important to clean the chute and burrs regularly. After each use, wipe down the chute and the surrounding area to remove any remaining grounds. Additionally, include the chute and burrs in your regular cleaning routine to prevent the accumulation of oils and residue. A clean grinder ensures smooth operation and optimal performance.
Keep the grinder’s motor and ventilation areas free from debris
The motor and ventilation areas of your grinder are vital for maintaining proper airflow and preventing clogs. Regularly inspect and clean these areas, ensuring that there are no obstructions or blockages. Use a soft brush or cloth to remove any built-up dust or debris that may impair the grinder’s performance.
Storing the Grinder Properly
Empty the hopper and grind chamber after each use
After every use, it’s essential to empty the hopper and grind chamber of any remaining beans or grounds. Leaving coffee residue in these areas can lead to moisture build-up, mold growth, and affect the flavor of your coffee. Take a few moments to clean and empty the grinder properly, ensuring it’s ready for the next use.
Store the grinder in a dry and cool environment
To maintain the overall quality and functionality of your espresso grinder, it’s crucial to store it in a dry and cool environment. Avoid storing the grinder in areas that are prone to humidity, such as near sinks or damp countertops. Moisture can lead to rust or the growth of mold, compromising the grinder’s performance.
Cover the grinder to protect it from dust and moisture
When the grinder is not in use, consider covering it with a protective cover or a clean cloth. This protects it from accumulating dust and prevents moisture from entering the device. Additionally, covering the grinder helps maintain a clean and tidy appearance, ensuring it’s always ready for your next brewing adventure.
Avoid storing the grinder near heat sources or direct sunlight
Extreme heat or exposure to sunlight can have a detrimental effect on your grinder. Avoid storing it near heat sources such as stoves, ovens, or direct sunlight. Excessive heat can cause the grinder’s components to expand or warp, affecting its performance and lifespan. Find a cool, shaded area to store your grinder for optimal maintenance.
Avoiding Cross-Contamination
Clean the grinder thoroughly when switching between different coffee beans
If you enjoy experimenting with different coffee beans or flavors, it’s important to clean the grinder thoroughly when switching between them. Residual oils and flavors from previous beans can linger and affect the taste profile of subsequent batches. Take the time to disassemble, clean, and rinse all the grinder components, ensuring a fresh start for each new coffee bean.
Grind a small amount of unflavored rice to remove residual flavors
To help eliminate any residual flavors from previous beans, grind a small amount of unflavored rice. Rice serves as an effective absorbent and can help flush out any lingering taste profiles. After grinding the rice, make sure to clean the burrs and chute, ensuring any rice residue is removed before grinding your desired coffee beans.
Wipe down the burrs and chute between uses
To minimize the risk of cross-contamination between different coffee beans, it’s good practice to wipe down the burrs and chute between uses. Use a clean, dry cloth to remove any residue or loose coffee grounds that may be present. This simple step helps maintain the integrity of the coffee you are brewing and ensures a consistent flavor profile.
Use a designated grinder brush for each type of coffee bean
To further prevent cross-contamination, consider using a designated grinder brush for each type of coffee bean you regularly use. Different coffee beans may have distinct oils or flavors, and using a separate brush for each helps avoid any potential flavor mixing. Clean and store the brushes appropriately to ensure they remain free of any residue.
Routine Maintenance
Follow the manufacturer’s recommendations for regular maintenance
To keep your espresso grinder in optimal condition, it’s essential to follow the manufacturer’s recommendations for routine maintenance. These guidelines typically include information on cleaning, lubrication, and any specific tasks that need to be performed regularly. By adhering to these recommendations, you can prolong the lifespan of your grinder and maintain its performance.
Keep a log of cleaning and maintenance tasks performed
Maintaining a log of cleaning and maintenance tasks is an excellent way to stay organized and ensure that no essential tasks are overlooked. Note the dates of cleaning, deep cleaning, burr alignments, and any other maintenance performed on your grinder. This log will help you keep track of when certain tasks need to be repeated and will serve as a reference for future maintenance needs.
Inspect the grinder for any signs of wear or damage
Regular inspections allow you to identify any signs of wear or damage before they become major issues. Take the time to visually inspect your grinder, examining all components for cracks, chips, or excessive wear. Pay special attention to the burrs, hopper, and any moving parts. If you notice any abnormalities, take the necessary steps to address them promptly, whether it be contacting the manufacturer or seeking professional assistance.
Replace worn parts or seek professional maintenance if needed
If you observe any significant wear or notice parts that are damaged or not functioning correctly, it may be time to replace those components. Consult your grinder’s user manual or contact the manufacturer to source the necessary parts. If the repair or replacement is beyond your capabilities, consider seeking professional maintenance to ensure your grinder is in top-notch condition.
Proper cleaning and maintenance of your espresso grinder are essential for achieving the best possible coffee extraction. By following the steps outlined in this guide, you can keep your grinder in optimal condition, ensure consistently delicious coffee, and extend the lifespan of your equipment. Enjoy the process of caring for your espresso grinder and savor every cup of freshly ground coffee it produces. Happy brewing!

