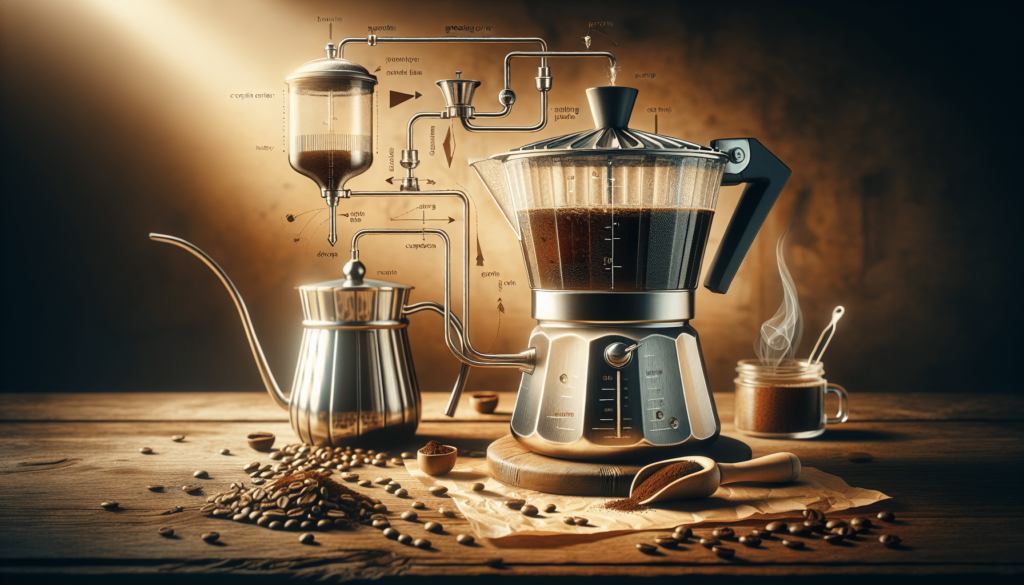
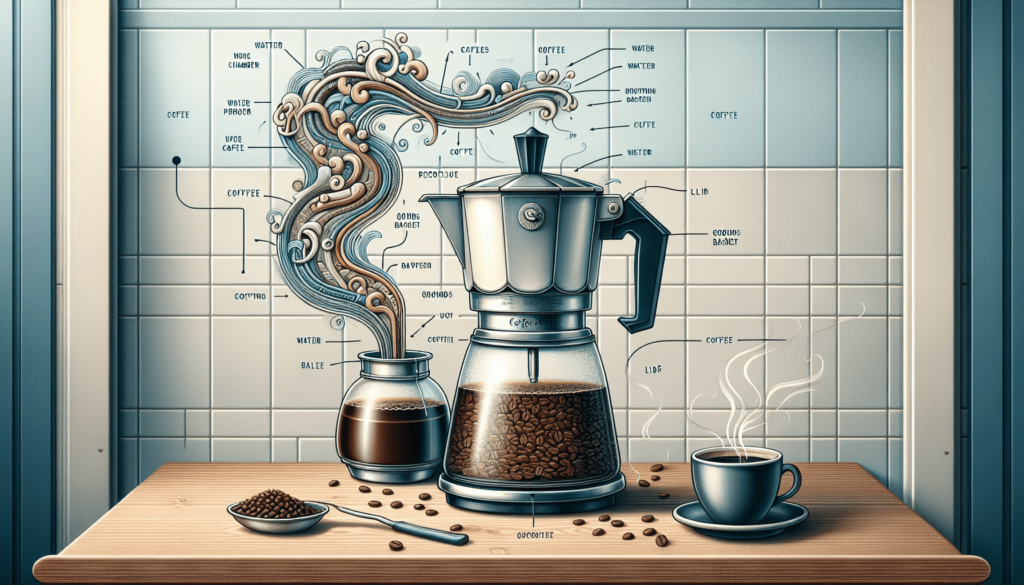
Are you a coffee lover who is intrigued by the idea of brewing coffee with a percolator? If so, you’ve come to the right place! In this article, we will provide you with a comprehensive and easy-to-follow guide on how to use a coffee percolator. Whether you’re a beginner or an experienced coffee enthusiast, we’ve got you covered. By following our step-by-step instructions, you’ll be able to brew a flavorful and aromatic cup of coffee using a percolator in no time. So grab your favorite coffee beans and let’s get started!
Step 1: Measure the Coffee
Choose the right coffee grounds
To start brewing the perfect cup of percolated coffee, it’s essential to choose the right coffee grounds. Opt for a medium to dark roast, as they tend to work best with percolators. Avoid finely ground coffee, as it may result in a gritty brew. Instead, go for a coarser grind, similar to what you would use for a French press.
Determine the coffee-to-water ratio
The coffee-to-water ratio is crucial in achieving the desired strength of your coffee. A general rule of thumb is to use approximately 1 tablespoon of coffee grounds for every 6 ounces of water. However, feel free to adjust this ratio according to your personal preference. If you like your coffee stronger, you can use a bit more coffee grounds, and if you prefer it milder, use slightly less.
Measure the desired amount of coffee
Based on your brewing preferences and the number of cups you plan to make, measure out the desired amount of coffee grounds. Use a measuring spoon or scale to ensure accuracy. Remember, using the right amount of coffee is essential for achieving the perfect balance of flavor and strength in your percolated coffee.
Step 2: Prepare the Percolator
Clean the percolator thoroughly
Before you begin using your coffee percolator, it’s important to clean it thoroughly. Wash all components of the percolator, including the basket, lid, and stem, with warm soapy water. Rinse them thoroughly to remove any soap residue. This step ensures that your coffee will not have any unwanted flavors or residue from previous uses.
Assemble the percolator components
Once the percolator is clean and dry, it’s time to assemble the components. First, insert the stem into the bottom of the percolator, ensuring it is secure. Then, place the basket onto the stem. Some percolators may require you to attach the basket to the percolator lid before inserting it into the percolator. Follow the specific instructions for your percolator model.
Fill the percolator with water
Now that your percolator is assembled, it’s time to fill it with water. Pour cold, fresh water into the percolator, taking care not to exceed the maximum fill line indicated. The quality of water used can significantly impact the taste of your coffee, so it’s best to use filtered or bottled water for the best results.

Step 3: Add Coffee to the Percolator
Remove the percolator lid
Before adding coffee grounds, remove the percolator lid. This will allow you to access the basket easily and add the coffee grounds without any obstruction. Set the lid aside in a clean and safe place where it won’t accidentally get knocked over or misplaced.
Place the coffee grounds in the basket
Take the desired amount of coffee grounds measured earlier and carefully pour them into the basket of the percolator. Ensure that the coffee grounds are evenly spread within the basket for optimal extraction. Avoid overpacking the basket, as this may prevent the water from circulating properly during the brewing process.
Replace the percolator lid
After adding the coffee grounds, it’s time to replace the percolator lid. Make sure it is securely in place to prevent any grounds from escaping during the brewing process. Double-check that the lid is properly aligned and not tilted or askew, as this can affect the percolator’s performance.
Step 4: Brew the Coffee
Place the percolator on the heat source
Now that your percolator is prepared, place it securely on a heat source. This can be a stove burner or any other heating element designed for stovetop use. Adjust the size of the heating element to match the percolator’s base to ensure even heat distribution.
Monitor the brewing process
As the percolator begins to heat up, you will notice the water inside the percolator starting to boil. Watch closely as the coffee brewing process takes place. Monitor the percolator’s dome, initially observing clear water being forced up through the stem into the basket. Over time, the water will change color as it extracts the coffee flavors from the grounds.
Adjust the heat as needed
While the coffee is brewing, it’s important to keep an eye on the heat source and make any necessary adjustments. If the percolation process seems too slow, increase the heat slightly. On the other hand, if the brewing process appears to be too rapid, reduce the heat to maintain a steady and controlled percolation.

Step 5: Percolate for the Right Time
Check the percolating time recommendations
Different coffee brands and personal preferences may dictate a specific percolating time. It’s always a good idea to consult the recommendations provided by the coffee manufacturer or experiment until you find the perfect brewing time for your taste. Percolation times typically range from 5 to 10 minutes, but this can vary.
Percolate the coffee for the recommended duration
During the brewing process, allow the coffee to percolate for the recommended duration. This ensures proper extraction of flavors and helps achieve the desired strength. Avoid the temptation to remove the coffee too soon, as this may result in a weaker brew. Keep a timer handy or monitor the time closely to ensure consistency.
Avoid over-percolating the coffee
While it’s crucial to percolate the coffee long enough for a flavorful brew, it’s equally important to avoid over-percolating. Extended percolation can lead to an overly bitter taste. If you’ve reached the recommended brewing time and are satisfied with the flavor, proceed to the next step. Remember, you can adjust the brewing time in future attempts to find the perfect balance.
Step 6: Remove from Heat
Turn off the heat source
Once the brewing process is complete, it’s time to remove the percolator from the heat source. Turn off the stove burner or any other heat-generating element you were using. This step is essential to prevent over-extraction and any potential damage to the percolator.
Carefully remove the percolator from the heat
Using oven mitts or pot holders to protect your hands, carefully lift the percolator from the heat source. Take caution to ensure the hot coffee inside the percolator doesn’t splash or spill during this process. Slowly and steadily move the percolator away from the heat source and place it on a heat-resistant surface.
Allow the percolator to cool down briefly
After removing the percolator from the heat source, it’s essential to allow it to cool down briefly before serving the coffee. This cooling period helps to stabilize the flavors and temperature of your coffee, enhancing the overall drinking experience. Around 1-2 minutes of resting time is usually sufficient.
Step 7: Serve the Coffee
Open the percolator lid
With the percolator cooled down and ready to serve, carefully open the lid. Take caution as hot steam may still be present. Gently lift the percolator lid, ensuring it doesn’t tip over and spill any contents. Keep your face and hands clear of the steam to avoid any accidents.
Gently pour the brewed coffee
Using a heat-resistant coffee pot, start pouring the brewed coffee into your favorite mug or cup. Pour slowly and steadily to prevent any splashing or spills. If you prefer to strain out any coffee grounds, use a fine-mesh sieve or coffee filter during the pouring process.
Serve the coffee immediately
Percolated coffee is best enjoyed fresh and hot. Once poured into the serving vessel, serve the coffee immediately to take full advantage of the flavors and aroma. Gather your friends or family around, and enjoy the satisfaction of sharing a freshly brewed cup of coffee together.
Step 8: Clean and Maintain the Percolator
Empty the used coffee grounds
After serving the coffee, it’s important to clean the percolator promptly. Start by emptying the used coffee grounds from the basket into a compost bin or trash can. Avoid rinsing the grounds down the sink, as they can clog the plumbing system and cause unwanted issues.
Clean the percolator parts
Thoroughly wash all the percolator components with warm soapy water, including the basket, stem, and lid. Make sure to remove any coffee residue or oils that may get stuck during brewing. Rinse the parts well to remove any soap residue before drying them thoroughly.
Regularly descale the percolator
Over time, mineral deposits or scale may accumulate inside the percolator, affecting its performance and the taste of your coffee. To prevent this, descale the percolator regularly using a mixture of white vinegar and water. Follow the manufacturer’s instructions or guidelines for the recommended frequency and vinegar-to-water ratio.
Step 9: Troubleshooting Tips
Coffee tastes weak
If your percolated coffee tastes weak, try increasing the amount of coffee grounds you use. Adjust the coffee-to-water ratio to achieve a stronger flavor. Consider experimenting with different coffee blends or grind sizes to find the perfect combination for your taste preferences.
Coffee tastes bitter
On the other hand, if your percolated coffee tastes bitter, you may have over-extracted the flavors. Reduce the brewing time and consider using a slightly coarser grind. Check the temperature of your heat source, as overheating can also result in a bitter taste.
Percolator is leaking
If your percolator is leaking, check the tightness of the percolator lid and ensure that it is properly secured. Make sure the rubber gasket or seal is intact and not damaged. If the problem persists, contact the manufacturer or consult a professional for further assistance.
Step 10: Experiment and Enjoy
Try different coffee blends or flavors
Using a coffee percolator opens up a world of possibilities when it comes to coffee flavors. Experiment with different coffee blends, single-origin beans, or flavored coffees to find your favorites. Each variety offers a unique taste profile that can enhance your brewing experience.
Adjust the brewing parameters
Don’t be afraid to adjust the brewing parameters to suit your personal taste preferences. Vary the coffee-to-water ratio, brewing time, or even the temperature to customize your percolated coffee. Allow yourself to explore and find the perfect combination that brings you the most satisfaction.
Savor your homemade percolated coffee
Now that you’ve mastered the art of using a coffee percolator, take the time to savor each cup of homemade percolated coffee. Appreciate the rich flavors, the enticing aroma, and the satisfaction of the brewing process. Share your newfound knowledge with friends and family, and introduce them to the joy of percolated coffee. Cheers to your delightful coffee journey!

